Demodesk personal meeting link & waiting lobby
Updated August 25, 2025
On this page
When scheduling a meeting, you can decide to send out either a unique meeting link or a lobby link.
- Unique meeting links (e.g. https://demodesk.com/ZLWEOIKS): This is the standard way to schedule a Demodesk meeting. When participants click on the unique meeting link, they are able to directly join the meeting. Unique meeting links ensure better privacy and prevent issues seen with reused links in rescheduled meetings.
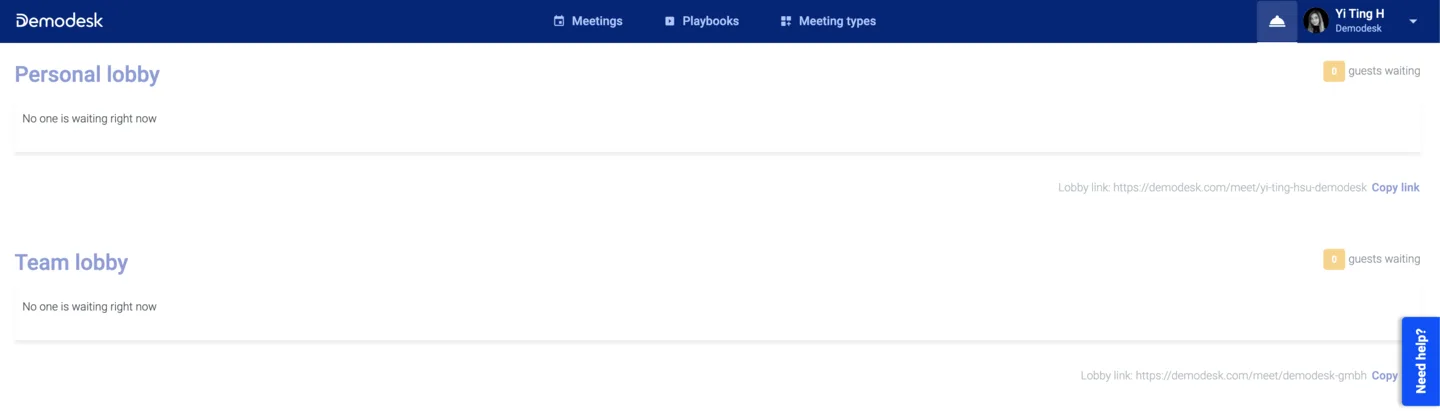
- Personal lobby link (e.g. https://demodesk.com/meet/veronika-riederle): This refers to your personal permanent meeting link. You can find your personal meeting link under the bell icon in the Lobby section. When participants click on the permanent meeting link, they are not joining the meeting right away but get redirected to your "lobby". They are only able to join the meeting once you allow them to.
- Team lobby link: Similar to the personal one, Demodesk also provides a team lobby link. When someone enters that lobby, everybody from your team is allowed to pull them into a meeting.
Advantage of lobby links
Additionally, lobby links can help manage access risks during meeting rescheduling. They ensure that only the participants you allow can enter the meeting, providing you with better control over who joins.
If you wish your participants not to directly access an already running meeting, via the Lobby Link you can create a sort of waiting room. This way, you will have all the necessary time to set yourself up and get everything ready for your running meeting. Meanwhile, your participants will not feel like the meeting is being delayed; and only when you feel like everything is set, you will let your participants join in.
For example, you wish to log into your product website before the beginning of the meeting. You also do not wish the participants to view this operation. By sending the lobby link, you will have privacy for logging into all your websites, while your participants will be waiting comfortably in your web lobby.
How the waiting lobby works
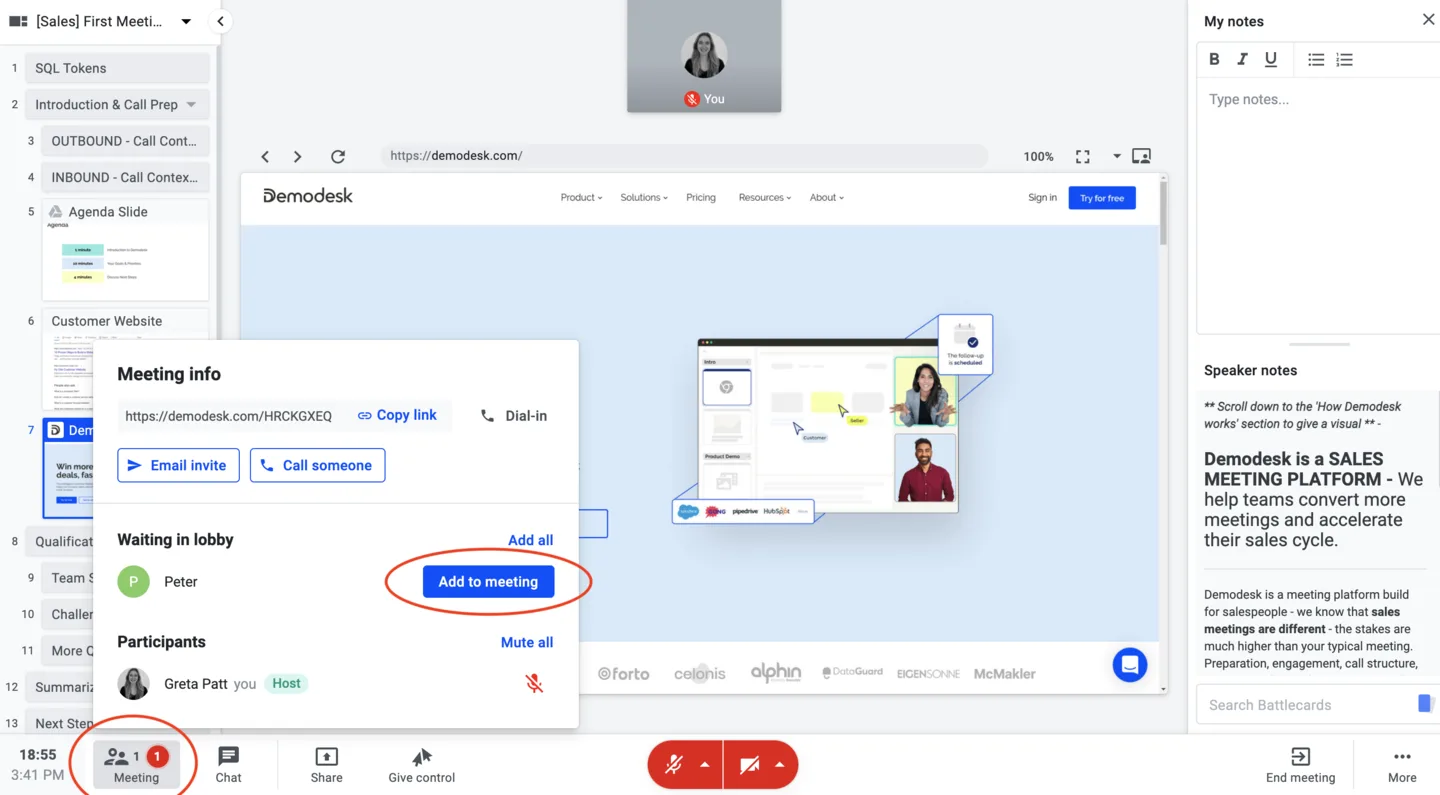
When someone joins the lobby, you will get notified on the dashboard and during any running demo.
From the dashboard, you can start a new meeting with the customer or have them join any existing meeting.
Participants that are waiting in your lobby appear in the list on your dashboard, but also in the participant list in any demo. When you want them to join the meeting just click on "join". However, be mindful when rescheduling meetings, as previous attendees may still enter the lobby using their original links, which can cause confusion. Proactively manage lobby access by double-checking participant permissions.
Managing Lobby Links for Rescheduled Meetings
Rescheduling meetings can pose unique challenges when using lobby links.
Participants who have access to their previously issued lobby links might attempt to join the meeting at the original time, which can lead to confusion or overlap in data. To prevent this:
- Monitor and control who you admit into a rescheduled meeting. This active management helps ensure the smooth execution of rescheduled meetings without unintended overlaps.
Get notified when someone joins your lobby
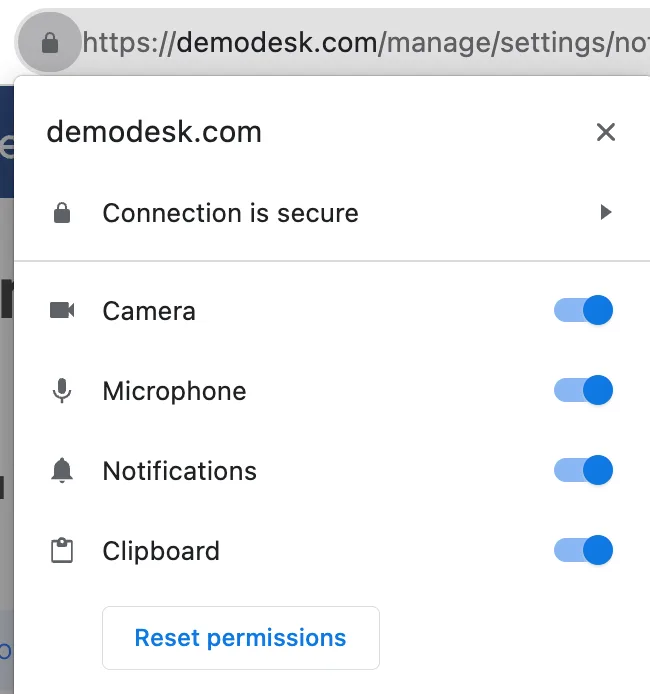
To get notified by your browser when someone joins your lobby, activate browser notifications here.
Please ensure that notifications are enabled for your browser and system.
- Google: Instructions
- Firefox: Instructions
Enable notifications on Windows
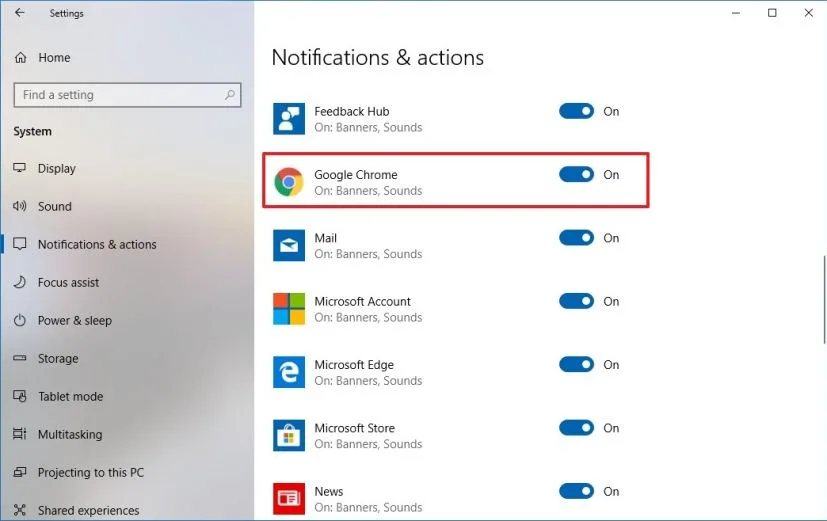
- In Windows, go to Settings > System > Notifications & Actions
- Click Get notification and actions from these sender section
- Turn on Google Chrome (or whatever browser you are using)
Enable notifications on MacOS
-
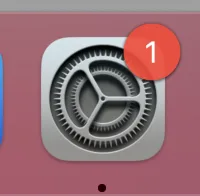
Go to System Preferences
-
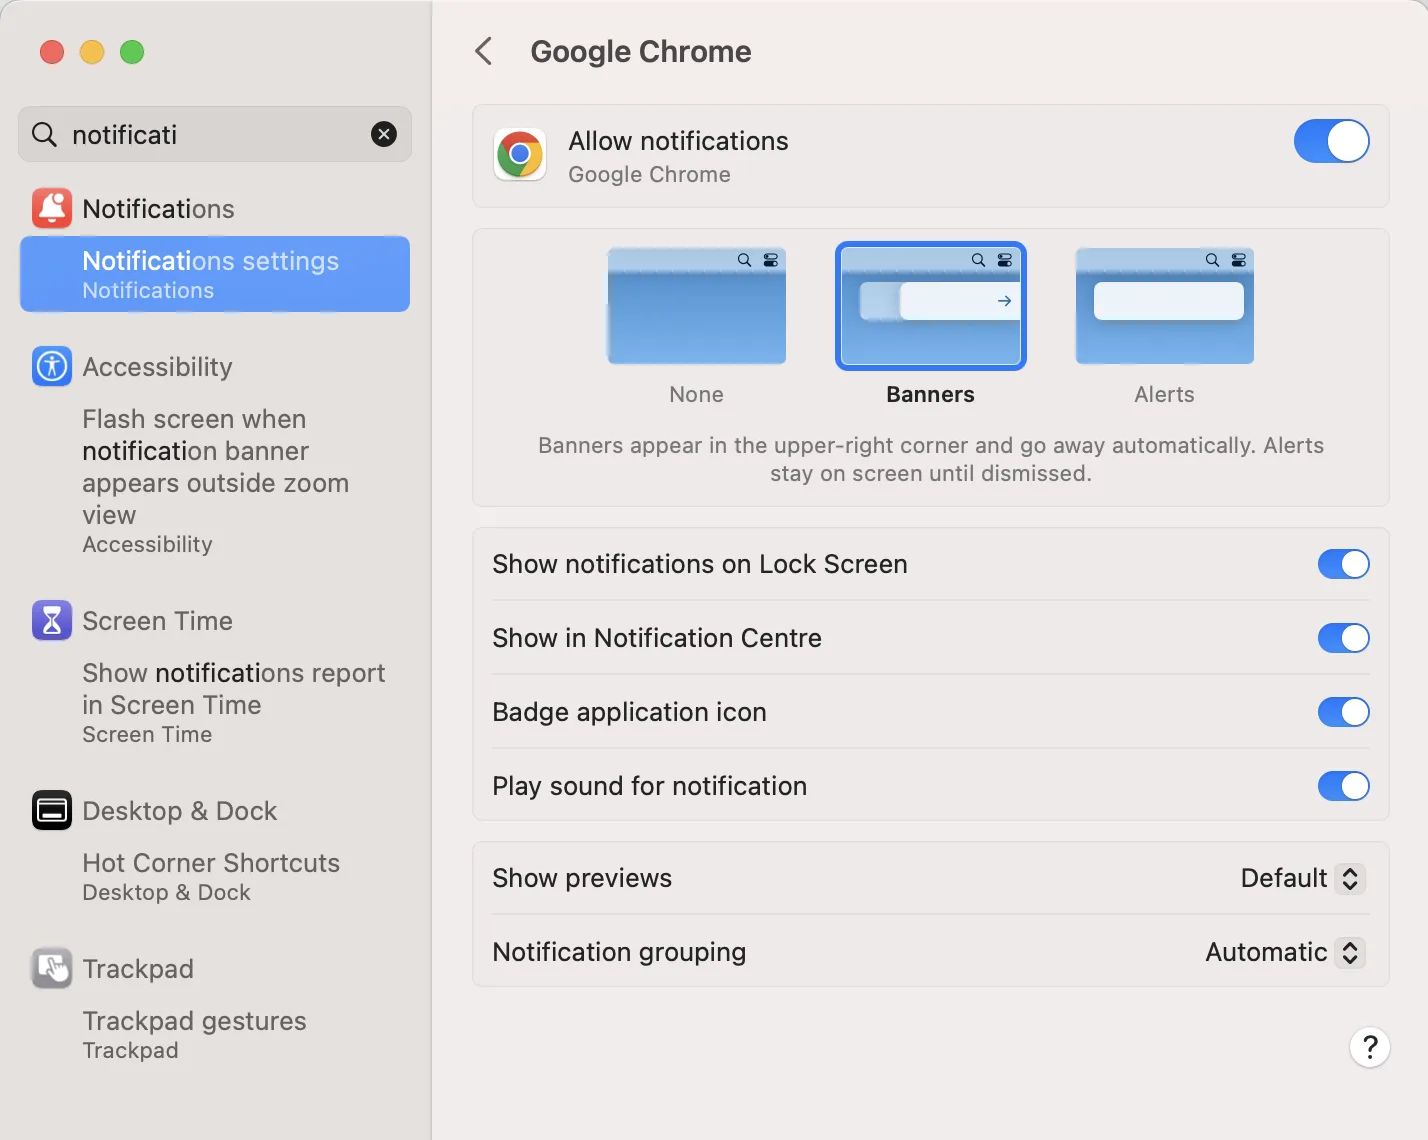
Search for "Notifications "
-
Scroll down the list of programs until you see your browser (here Google Chrome)

-
Click on the browser (here Google Chrome)
-
Click the Slider next to "Allow Notifications"
Related articles
More in this category
Still need a hand?
Our support team answers in the app chat, or at support@demodesk.com.